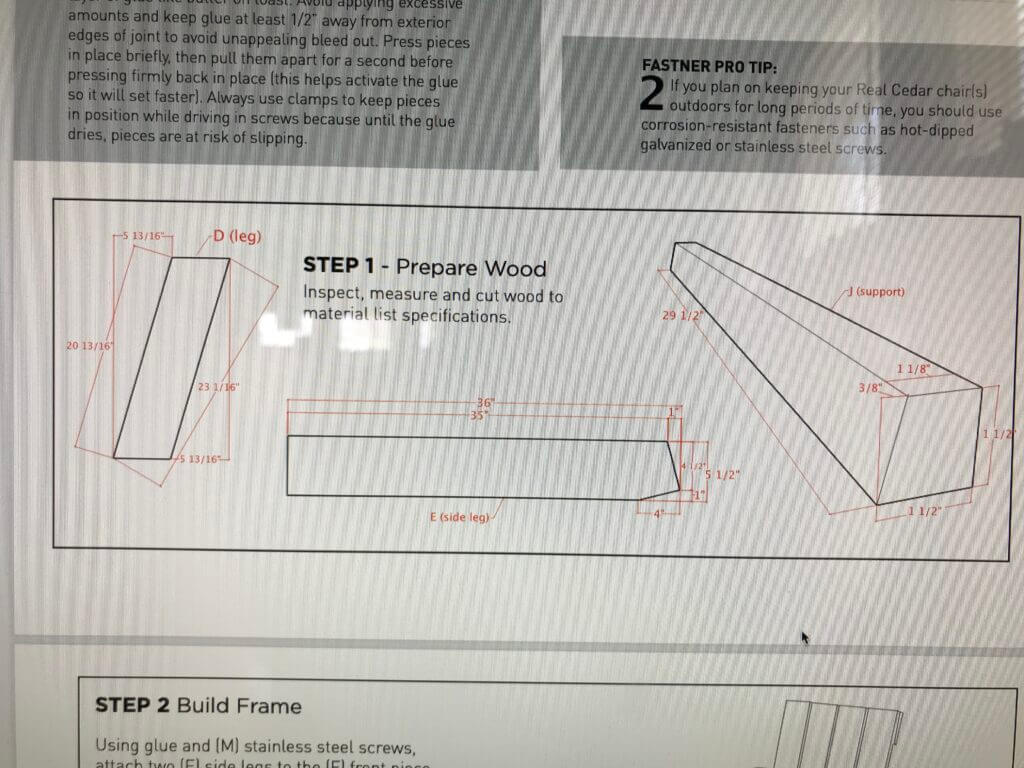
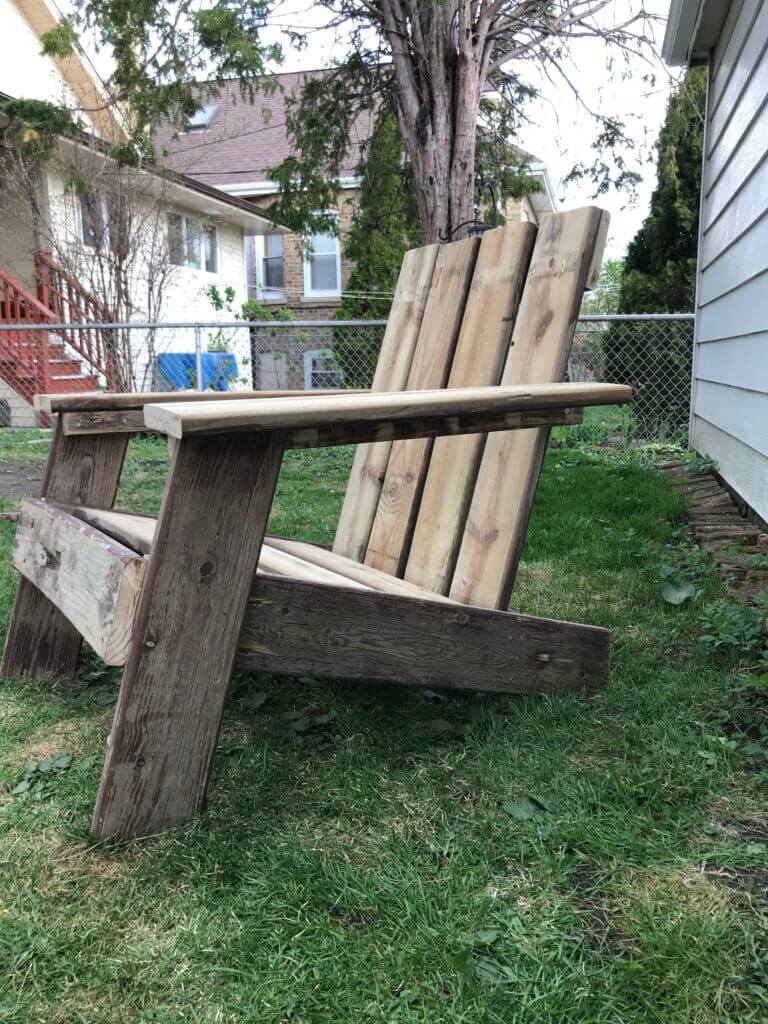
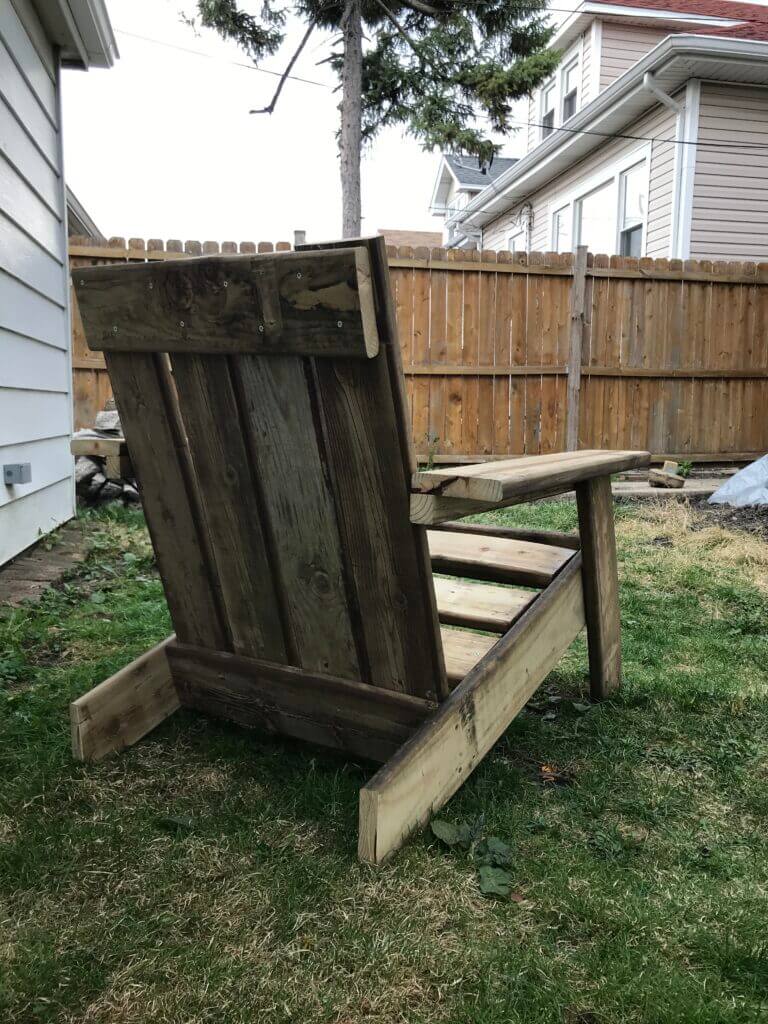
With the rising costs of lumber, I entered the wood working hobby at possibly the worst time. Luckily though, I had some scrap wood I can work with to teach myself some techniques and practice some outdoor furniture building. Looking over the type of wood I had on hand from my recent wheelchair ramp teardown, I thought I can give these a second life by keeping them outdoors. It’s not that I needed chairs, it’s more like I had the wood but didn’t want to waste them and I wanted experience and to learn how to build. The size of each board were perfect for adirondack chairs after looking up plans. It’s also a project that required no specialized tools, just the basics – a miter saw and drill, that’s it. It was a bit overwhelming at first but once the seat was assembled I felt confident and had a better understanding of the project, that I barely referenced the plans anymore. These are the chairs that I see all the time, usually at beach resorts – had no idea they were called and I had a problem pronouncing it – adirondack.
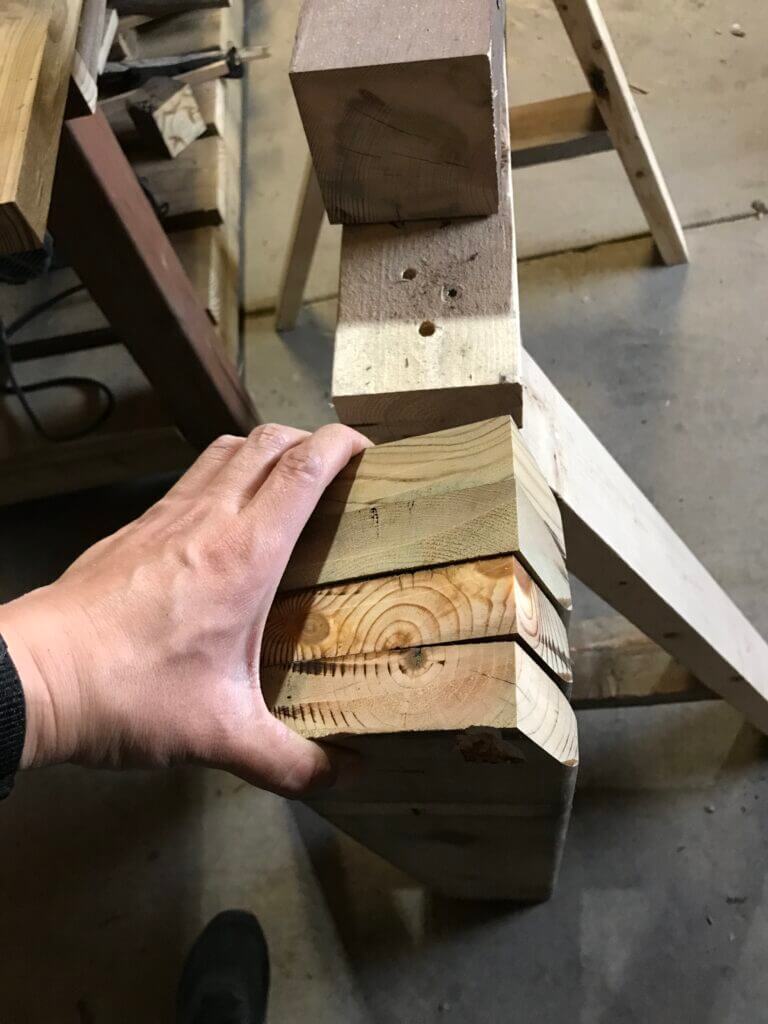
satisfying cuts 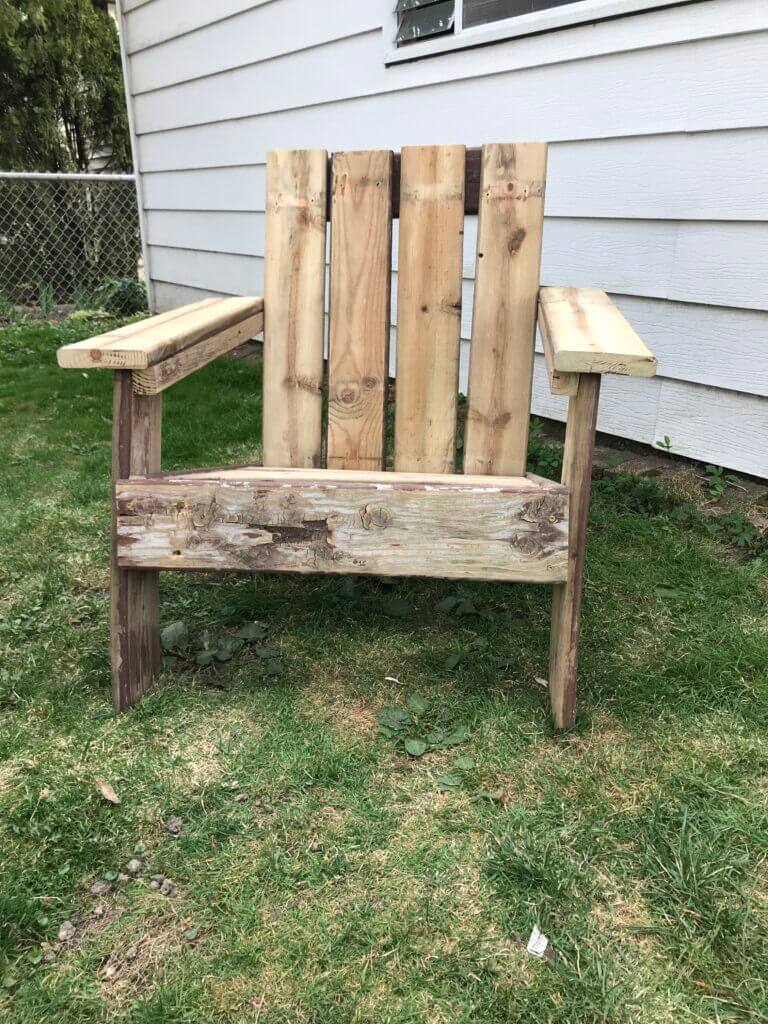
All DIY tutorials and guides say that this chair is the perfect beginner project and having zero experience with a miter saw, I was less than a beginner but I had the drive and wanted to really get something out of this pandemic. I focused on a single area at first, cutting and putting together small sections at a time so that I didn’t lose my place. I would dry fit after having enough pieces per section. If you’re nervous about starting your own wood working journey, I found that this method works for me to keep the project moving forward while minimizing mistakes and wasted material.
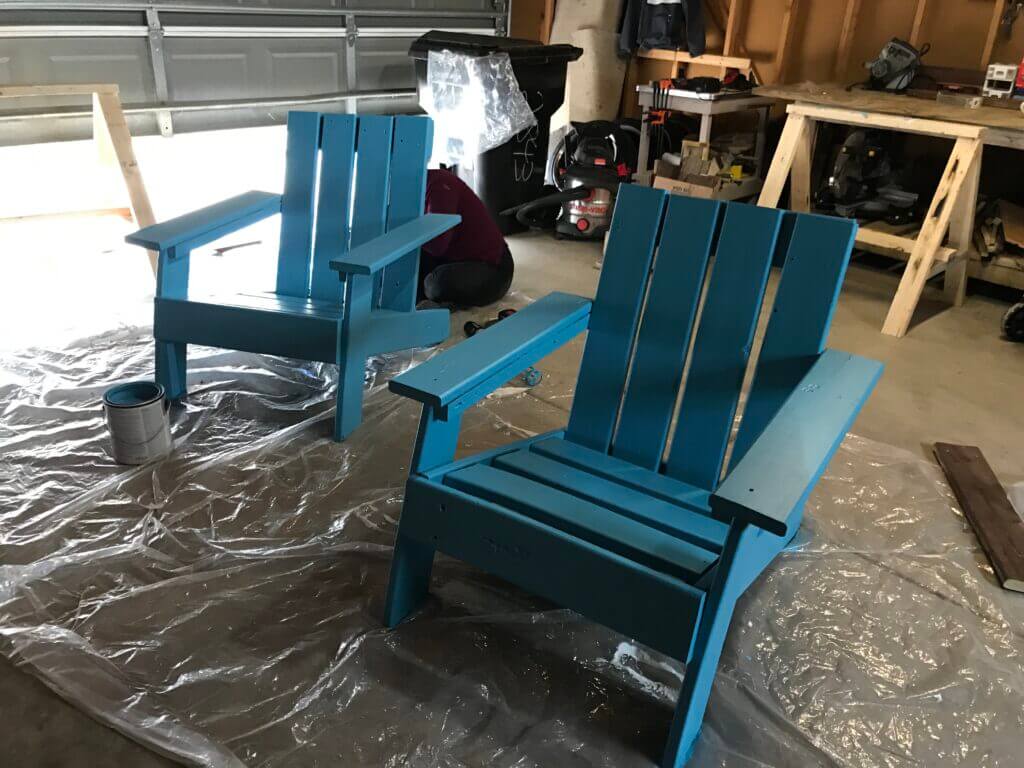

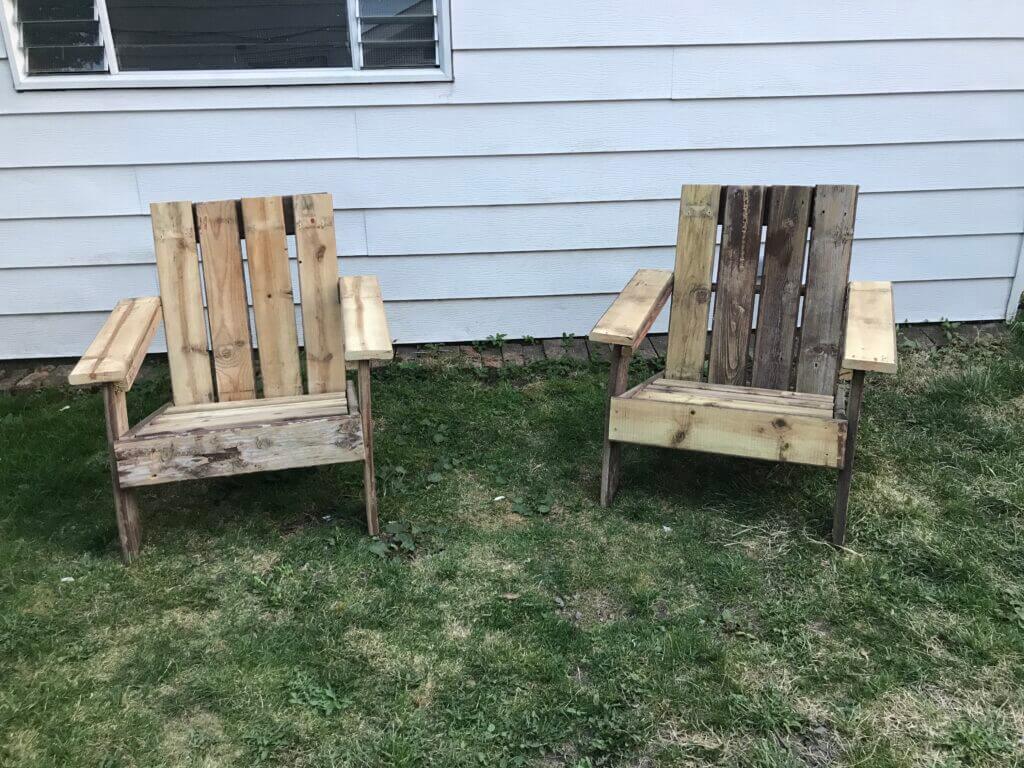
Finished product and small brag on our kale
I followed the instructions I found online as close as I could but I still made a mistake that turned out to be significant but not a bad one. In the instructions, I was supposed to cut the seat slats the same length as the front of the frame so that they sat on top, instead I cut them shorter so now they sat flushed with the frame. This was a mistake but it turned out to be a welcomed one because in the end, I have a chair that sits lower which allows more room for the cushion. I call this a blessing because now, not only am I less afraid of making mistakes, I now have a design improvement and it gave me a unique experience that has translated into confidence knowing that I can adapt to the situation.
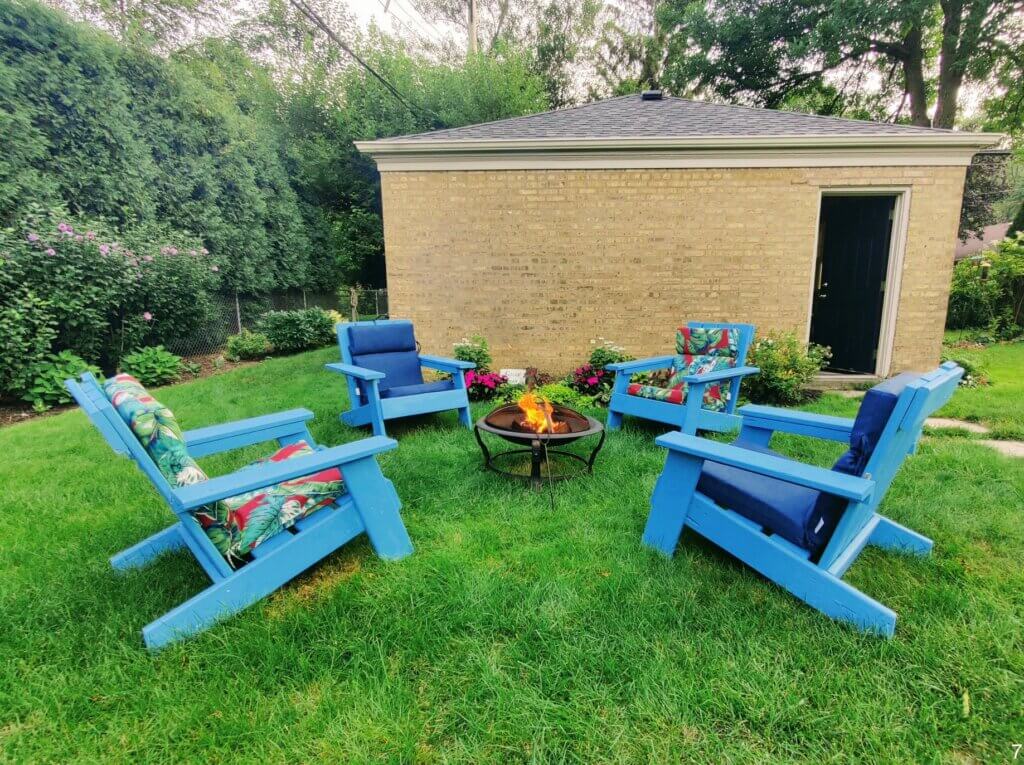
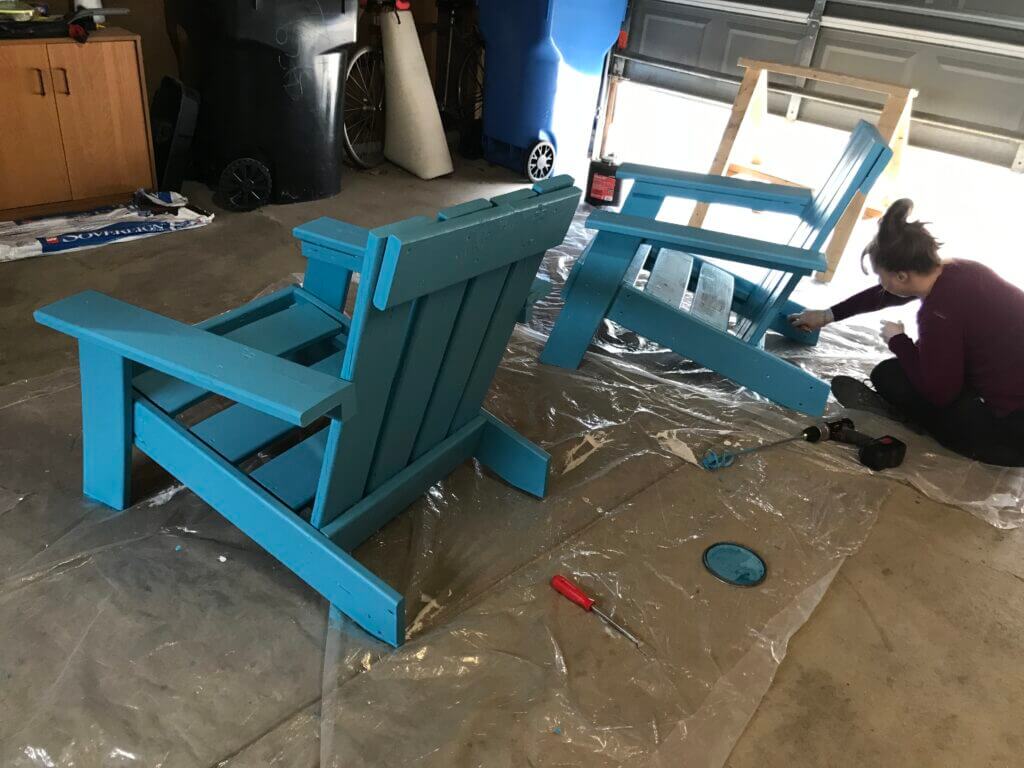
Update
My first set of chairs sold! Pictured below are my babies at their new home! The person who bought these from me sent me a photo update of these at their new place. She loved them so much and I love that she found some cushions that fit perfectly from Lowe’s.